Ten years before the publication of his book, The Museum of Lost Wonder, Jeff Hoke inaugurated a pamphlet series that explored many of life’s big questions. Each issue of the Guide to Lost Wonder was essentially an activity book, beautifully illustrated
with plenty of experiments to try at home.
This series has now been discontinued and is no longer in print. Jeff still has a few sets of all ten issues of the Guide to Lost Wonder for people who want to see the Museum in its initial incarnation.
Limited Collector’s Series
Ten issues of the Guide to Lost Wonder, the first issue signed, with a special insert on the history of esoteric pamphleteering.
** This set is sold out through Wonderella, but may still be available through lostwonder.org. **
The Guide
to Lost Wonder was printed letter size, or 8.5 x 11 inches.
Click
any of the cover images below for a closer look at the individual pamphlets included in this set.

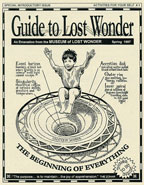
No.1,
“The Beginning of Everything.” The Guide is
known for tackling life’s big questions, and starts off
with a doozie—“Where do we come from?” Learn
about creation myths from around the world and cut out and
build a do-it-yourself model of the universe.
We
have excerpted the Genesis
myth from this issue of the Guide for your enjoyment.
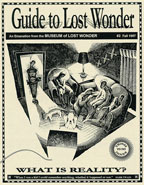
No.2,
“What Is Reality?” What is reality, indeed?
Plato thought it was an illusory picture show. Other scientists
think it’s a combo of genes, memes, and scenes. Experiment
with your free will and sense of self and find out! Includes
a do-it-yourself theatre of the mind.
Try
a few enlightening
experiments by reading our excerpt from this issue.
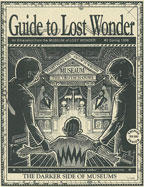
No.3,
“The Darker Side of Museums.” Museums began
as shrines to the nine beautiful muses, whose cosmic inspiration
is behind all great works of art. Somewhere along the line
museums became curiosity cabinets for the world's greatest
eccentrics. What happened? Includes a do-it-yourself model
“muse-e-um.”
Read
about mankind’s earliest forays into curatoria and
scientifica in this issue’s essay, “The
First Museum.”
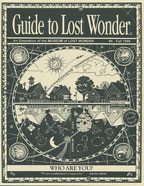
No.4,
“Who Are You?” Who are you? Are you your horoscope?
Are you a combination of the four humors? Ponder your self
and think about what you do to define who you are. Includes
a do-it-yourself scrying mandala (with pendulum) based on
the Tibetan Wheel of Life.
Phlegm,
blood, bile, and other gooey personality indicators are
bottled for easy consumption in the excerpt “The
Four Humors.”
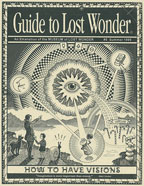
No.5,
“How to Have Visions.” The Guide explores
the history of visions, from Sir Isaac Newton poking his
eye with a knife to Tony Conrad's “Flicker Film”
of the 1960s. Includes several E-Z experiments to induce
hallucinations and a breath-powered do-it-yourself hypnotrope!
Read
about five flashes of phantasmagorical insight in “Historic
Visions,” the excerpt from this issue.
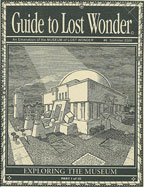
No.6,
“Exploring the Museum.” The first in a three-part
comic book style mini-series, this issue follows one young
visitor’s initiation into the alchemical mysteries
of the Museum of Lost Wonder. Includes some of Jeff’s
most beautiful work yet. Recommended for all ages.
Catch
a glimpse of the Museum’s first exhibit hall—Calcinatio—in
our excerpt
from this issue of the Guide.
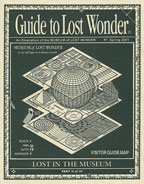
No.7,
“Lost in the Museum.” The pictorial tour of
the Museum of Lost Wonder continues with our young hero
hopelessly lost behind the scenes. It’s Charlie
and the Chocolate Factory meets Carl Jung—is there
any hope? Find out!
Now
you can follow our young visitor to the caves
and tunnels beneath Coagulatio, the Museum’s third
exhibit hall.
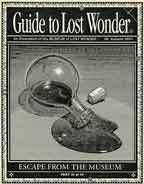
No.8,
“Escape from the Museum.” Part 3 of 3 in the
Museum of Lost Wonder pictorial tour. The young visitor’s
tour comes to a close in this issue—or does it? Includes
an introductory essay on how the Museum’s exhibits
are based on the allegorical never-ending journey of the
alchemist.
Follow
the young visitor's path through the natural history exhibit
in the Hall
of Mortificatio in this excerpt.

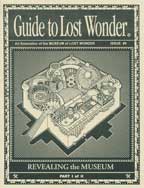
No.9,
“Revealing the Museum, Part 1.” You’ve
seen the exhibit halls in the Museum of Lost Wonder, but
what does it all mean? In this issue, the Guide takes you
on the first half of a two-part peek behind the scenes at
the Museum, uncovering the myth and psychology beneath each
hall. This issue features several rare alchemical engravings
restored by Jeff Hoke.
Explore the marvelous botanical
and zoological exhibit of Coagulatio in this issue’s
excerpt.
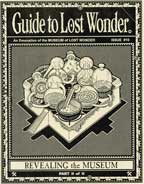
No.10,
“Revealing the Museum, Part 2.” The behind-the-scenes
tour concludes in this issue of the Guide. Learn the secrets
of the final four halls of Mortificatio, Separatio, Conjunctio, and Circulatio.
Jeff Hoke also makes connections between alchemy and the
creative process in this issue’s introductory essay.
Our excerpt from this issue discusses the similarities between
the processes of alchemy
and art.
|